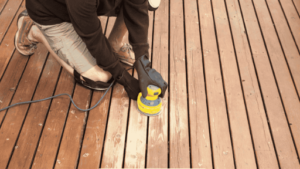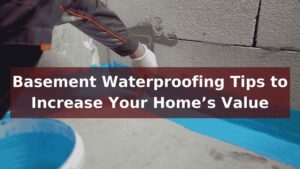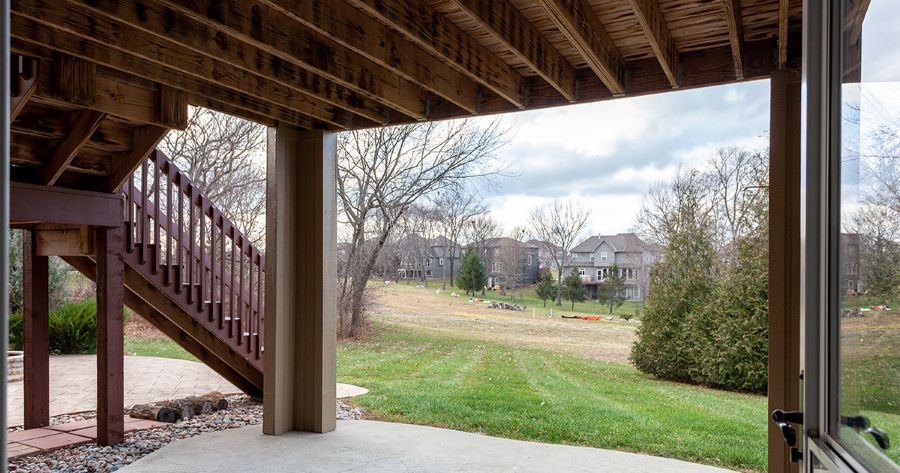
Under deck waterproofing DIY projects are essential for homeowners looking to maximize their outdoor living space. By installing a drainage system under your deck, you can create a dry, usable area perfect for storage or entertainment. This guide will walk you through the process, providing tips and tricks to ensure a successful project.
Must Read: What to Put Under Deck for Moisture Resistance
Table of Contents
ToggleUnder Deck Waterproofing Benefits
Waterproofing under your deck offers several benefits:
Protection: Prevents water damage to your home’s foundation and deck structure.
Usable Space: Creates additional outdoor living or storage space.
Maintenance: Reduces the need for frequent repairs and maintenance.
Tools and Materials Needed for Under Deck Waterproofing DIY
Before starting your under deck waterproofing DIY project, gather the necessary tools and materials:
- -Waterproofing membrane
- -Deck drainage system kit
- -Measuring tape
- -Drill and screws
- -Saw
- -Safety gear (gloves, goggles)
Steps for Under Deck Waterproofing DIY
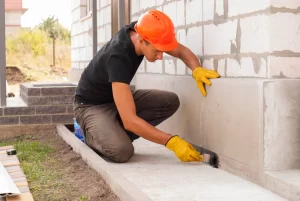
1. Planning and Preparation
The first step is planning your project:
- -Measure the area under your deck.
- -Determine the slope for water runoff.
- -Purchase the appropriate waterproofing materials and tools.
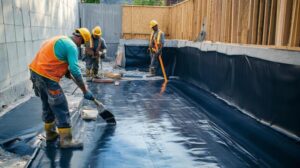
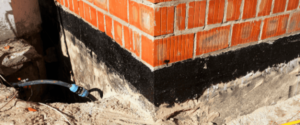
2. Installing the Waterproofing Membrane
The waterproofing membrane is crucial for keeping water out:
- -Cut the membrane to fit between the joists.
- -Secure it with screws or adhesive.
- -Ensure it slopes towards the drainage system.
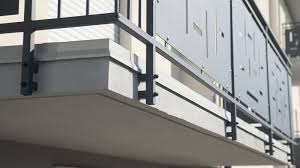
3. Setting Up the Drainage System
A proper drainage system directs water away from your deck:
- -Install the gutters and downspouts according to the manufacturer’s instructions.
- -Make sure the gutters slope towards the downspouts.
- -Test the system with water to ensure proper flow.
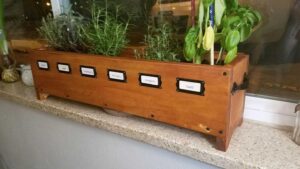
4. Adding an Under Deck Ceiling
An under deck ceiling enhances the aesthetics and functionality of your space:
- -Measure and cut the ceiling panels to fit.
- -Attach the panels to the joists using screws.
- -Ensure a snug fit to prevent water leakage.
Do’s and Don’ts for Under Deck Waterproofing DIY Installation
| Do’s | Don’ts |
|---|---|
| Plan your project thoroughly before starting. | Skip measuring and planning the drainage slope. |
| Use high-quality materials designed for waterproofing. | Use materials not intended for waterproofing. |
| Ensure the waterproofing membrane is securely attached. | Leave gaps or loose areas in the membrane. |
| Maintain a proper slope for water runoff. | Install the drainage system without a slope. |
| Clean gutters and downspouts regularly. | Ignore maintenance checks for clogs and leaks. |
| Follow manufacturer instructions closely. | Assume you can figure it out without guidance. |
| Check local building codes and regulations. | Overlook permits or legal requirements. |
| Wear safety gear during installation. | Neglect personal safety for the sake of speed. |
| To ensure proper flow test the system with water | Assume it’s working without testing. |
| Seek help or advice if you’re unsure. | Proceed with uncertainty or lack of knowledge. |
Maintenance Tips for Your Under Deck Waterproofing System
- -Regularly clean the gutters and downspouts to prevent clogs.
- -Inspect the waterproofing membrane for damage.
- -Check the ceiling panels for signs of wear and tear.
Conclusion
Under deck waterproofing DIY projects can transform your outdoor space, making it more functional and enjoyable. By following this guide, you can protect your home from water damage while creating a versatile area for entertainment or storage or You can speak to our waterproofing experts for more guidance. Regular Maintenance is required for your waterproofing system’s longevity.
The cost varies depending on the size of your deck and the materials used. On average, homeowners spend between $1,000 and $3,000.
Yes, with the right tools and materials, waterproofing your deck can be a manageable DIY project.
The best system depends on your specific needs and budget. Popular options include vinyl membranes and under deck drainage kits.