Deck Waterproofing Guide: What To Do When Your Deck Drain Leaks
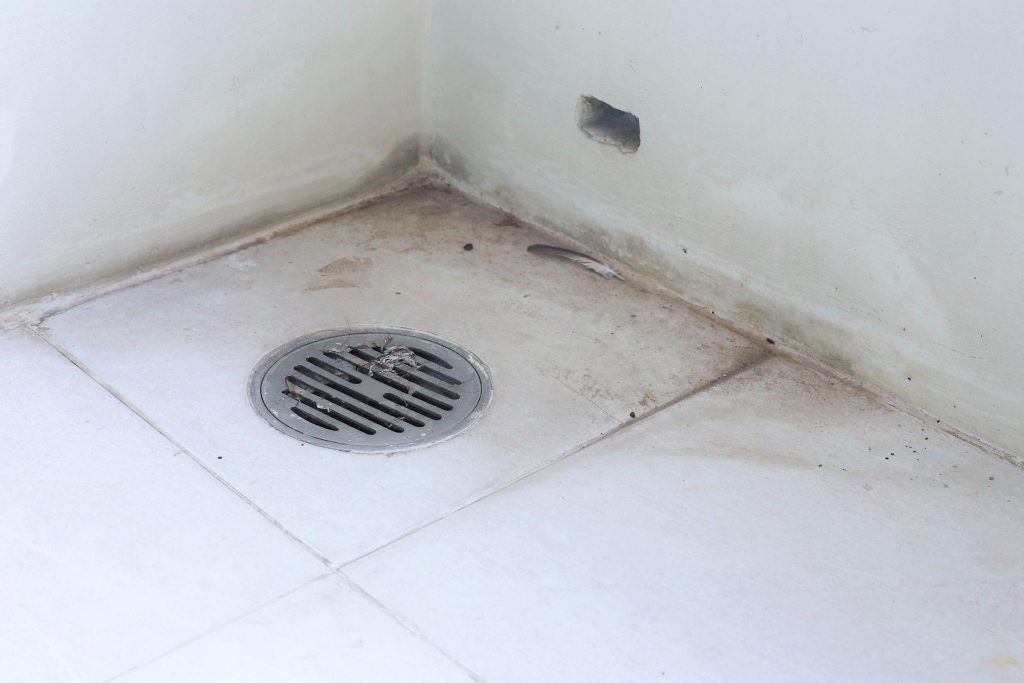
Deck Waterproofing is the most important defense against a leaking deck drain.A leaking deck drain is one of those problems […]
Deck Waterproofing is the most important defense against a leaking deck drain.A leaking deck drain is one of those problems […]

A beautiful deck should be a place to relax, entertain, and enjoy your home. But without the right care, even

When a storm hits and the rain starts pounding against the house, your deck becomes one of the first parts
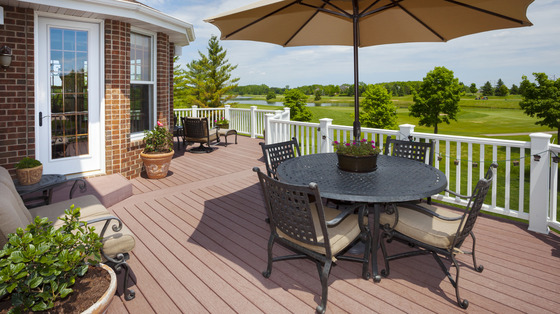
When designing an outdoor living area, homeowners often face the question of whether to install a patio or a deck.

Building a deck is one of the best ways to enhance your outdoor living space, increase your home’s value, and

As the years roll by, our decks endure a lot – rain, snow, and the scorching sun take their toll.
Decks are a terrific way to add value to your house and provide a year-round gathering place for friends and