
All About – Exterior French Drain Basement Waterproofing
A French drain is a tried-and-true solution for managing water and preventing basement flooding. When water starts to seep into […]
A French drain is a tried-and-true solution for managing water and preventing basement flooding. When water starts to seep into […]
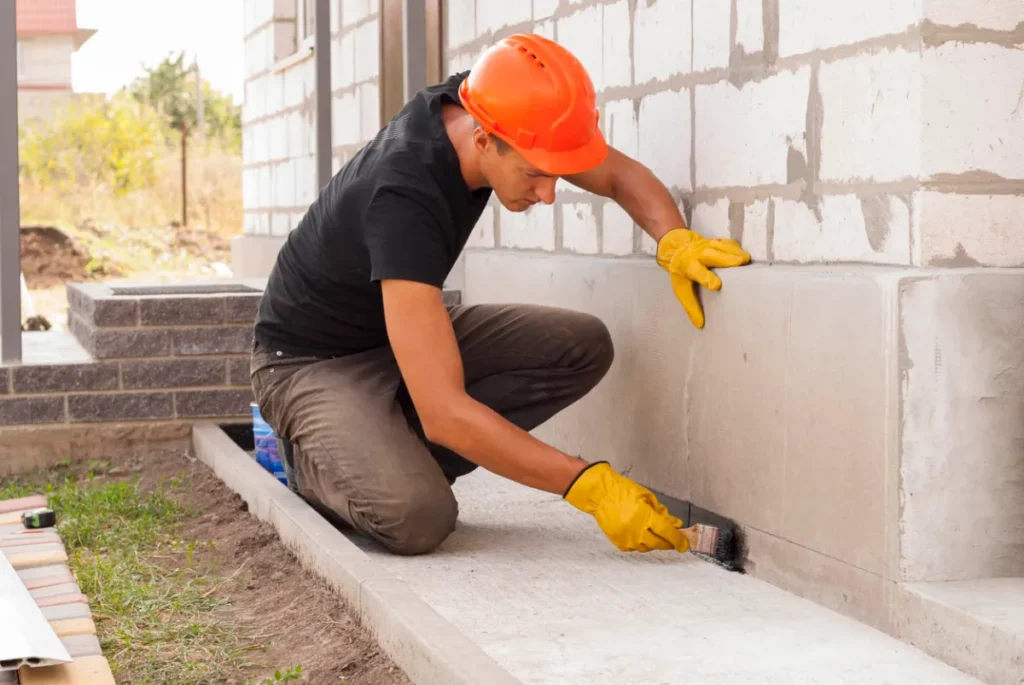
Waterproofing your basement is crucial for maintaining the structural integrity of your home and preventing moisture-related issues like mold, mildew,

Building a deck is one of the best ways to enhance your outdoor living space, increase your home’s value, and
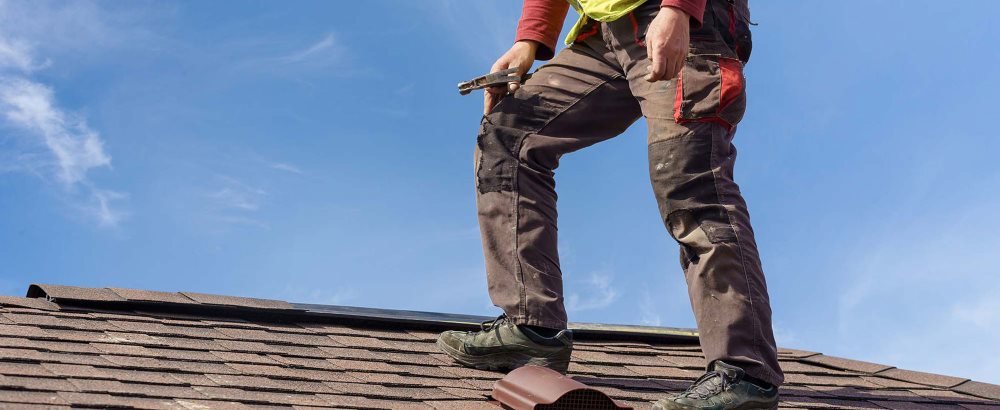
Maintaining your roof is essential for protecting your home from the elements, especially in a state like California, where weather
Effective basement waterproofing is important for upholding your home’s structural stability and overall worth. However, many homeowners find themselves questioning
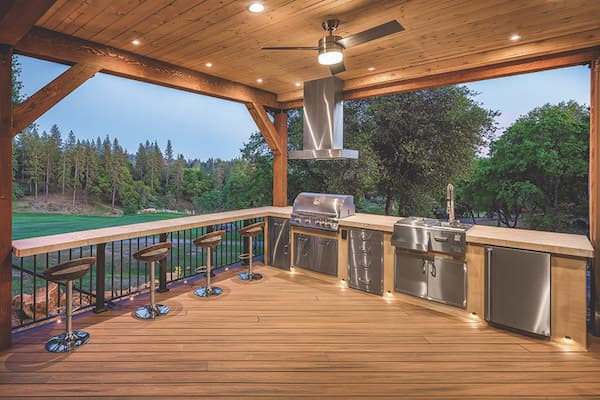
Imagine relaxing on your deck, enjoying a serene evening as the sun sets. While the surface of your deck is
Discover the freedom of deck repair and construction without the hassle of permits! In our comprehensive guide, we discuss what

Transforming your deck into a four-season room is a fantastic way to enjoy the outdoors all year round. However, embarking

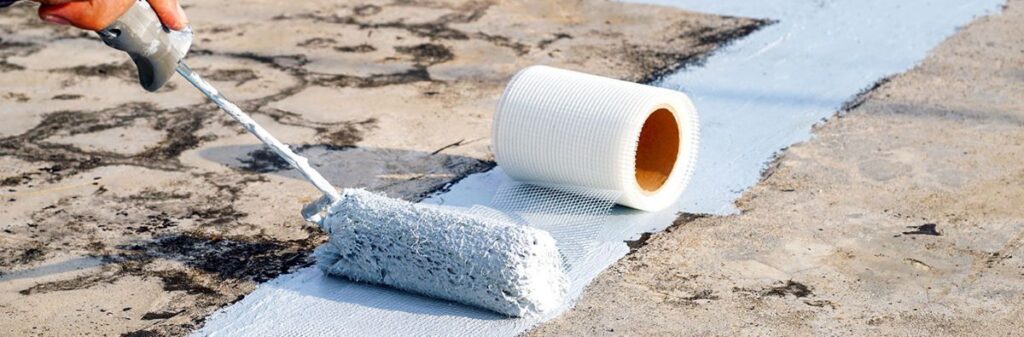
When it comes to outdoor spaces, protecting your furniture and deck from unpredictable weather is crucial. Waterproofing your deck over

When deciding between steel stairs vs concrete stairs for your home, consider durability, maintenance, and cost. Steel stairs are quick